A new kitchen changes how your whole home feels. It also brings dust, noise, and a lot of decisions. Knowing each stage in advance makes the process far less stressful. If you want a professional team for kitchen installation Mill Hill, this guide shows you exactly what happens, step by step. You will also find practical tips to help your project run smoothly.
Why Understanding the Installation Process Matters
Most delays and frustrations come from surprises. A homeowner who knows the order of work can plan meals, move furniture, and answer questions quickly. Good preparation also helps your installer stay on schedule.
Every kitchen is different. A small galley kitchen needs less time than an open plan space with a new layout. However, the core stages stay the same. Once you understand them, you can talk to your fitter with confidence.
Stage 1: Survey and Final Planning
Every successful project starts with a detailed survey. Your installer visits your home and measures every wall, window, and door. They check where your water, gas, and electric supplies run. They also look for hidden problems such as damp, uneven floors, or old wiring.
After the survey, you confirm the final design. This is the moment to check your unit sizes, appliance models, worktop choice, and lighting plan. Changes are easy at this stage. Changes made halfway through the build cause delays.
What You Should Prepare
Gather your design drawings and appliance details. Confirm your delivery dates with suppliers. Tell your installer about any access issues, like narrow hallways or parking limits. Clear communication now saves time later.
Stage 2: Removing the Old Kitchen
Strip out day marks the real start of the project. Your team disconnects the old appliances, sink, and cooker. They remove the units, worktops, and any old tiles or flooring that are in the way.
Expect noise and dust on this day. A good team protects your floors and seals doorways with dust sheets. They also clear rubbish away so your home stays safe to walk through.
Tips for Strip Out Day
- Empty all cupboards and drawers beforehand.
- Pack away fragile items and food.
- Set up a temporary kitchen area with a kettle, microwave, and toaster.
- Keep children and pets away from the work zone.
Stage 3: First Fix Plumbing and Electrics
Once the room is empty, the first fix begins. Your tradespeople move pipes, add sockets, and run cables for new lighting. They plan these services around your new layout, so every appliance and tap sits in the right place.
Safety matters most here. Gas work must be done by an engineer on the Gas Safe Register, and electrical work must follow current standards. Certain changes also fall under building regulations, which you can read about on the GOV.UK building regulations page. Your installer should explain which rules apply to your project.
Stage 4: Walls, Ceilings, and Floors
With the services in place, the team repairs and prepares the room. They patch plaster, level uneven walls, and fit new ceiling lights if needed. Plastering takes time to dry, so your installer builds this wait into the schedule.
Flooring usually goes down at this stage or just after the units are in. The right order depends on your floor type. Tiles and vinyl often go in before the units, while some hardwood floors go in last. Your installer will tell you which approach suits your kitchen.
Stage 5: Fitting the Units
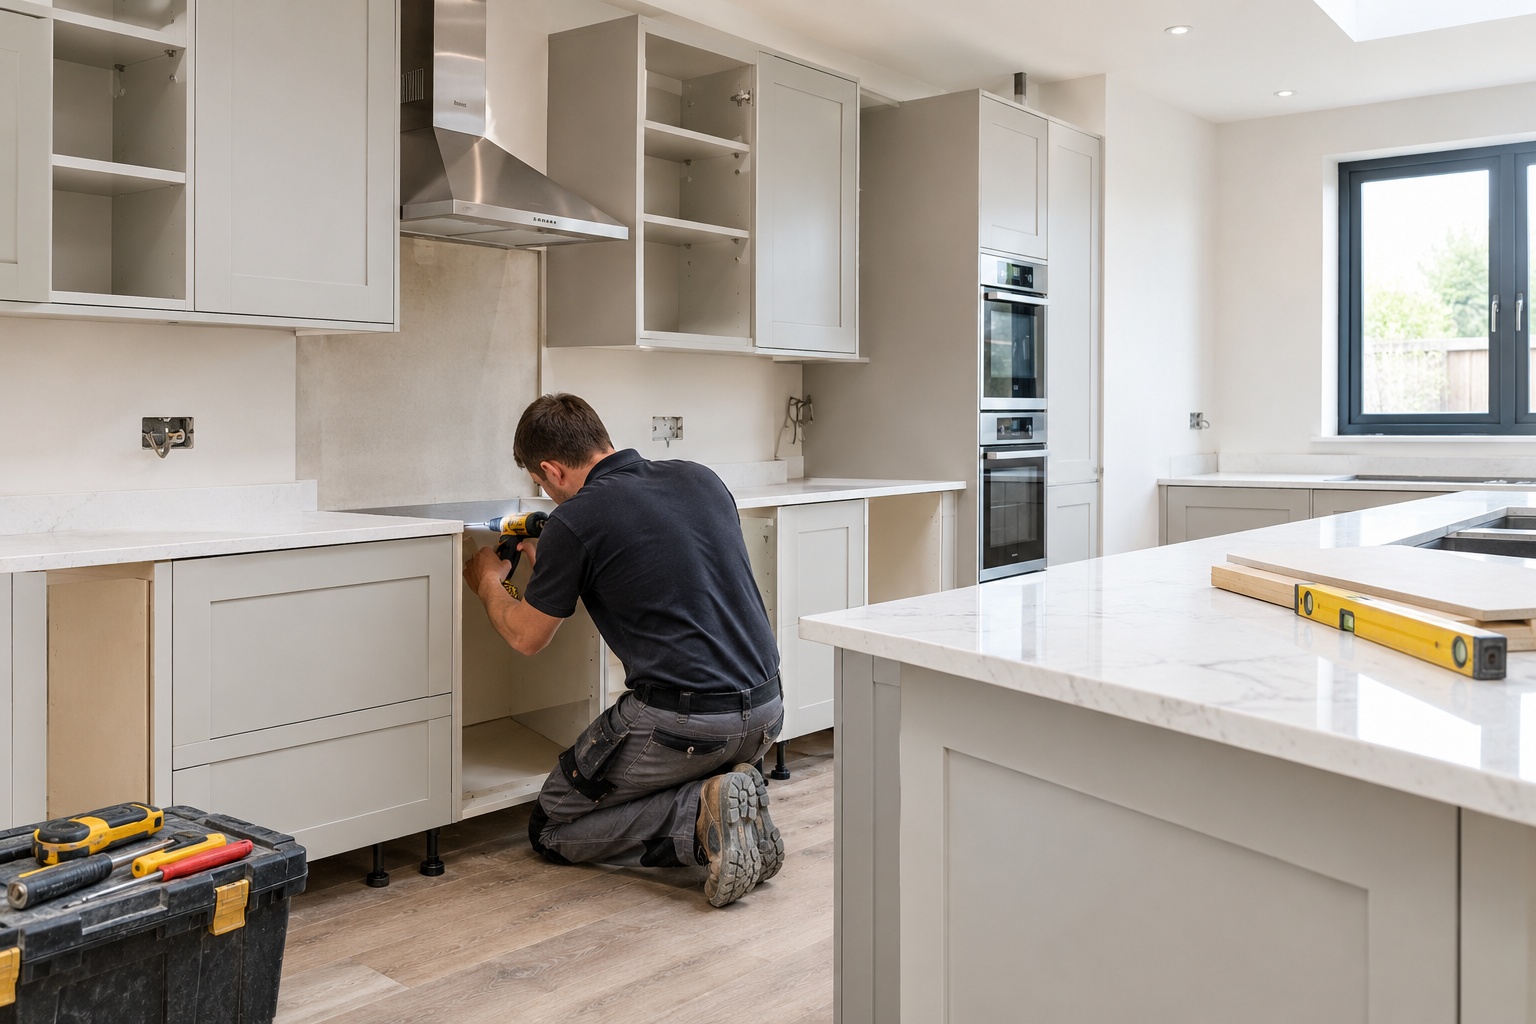
This is the stage most homeowners wait for. Your team starts with the wall units and then moves to the base units. They check each unit with a spirit level and fix it firmly to the wall. Accurate levelling keeps doors aligned and worktops flat.
You will see your kitchen take shape in just a few days. Handles, doors, and plinths go on once the carcasses are secure. Take a moment to walk through the space and check that the layout feels right.
Stage 6: Worktops and Splashbacks
Worktops need careful measuring and cutting. Laminate, timber, quartz, and granite each need different tools and techniques. Stone and quartz often require a template first, so fabrication happens after the units are fixed.
Expect a short wait between templating and fitting for these materials. Your installer will arrange the timing. Once the worktops are down, the team adds splashbacks, upstands, and sealant around the edges.
Is a Refurbishment Right for You?
Not every kitchen needs a full rebuild. If your layout works but the units look tired, a lighter update could give you a fresh look. Many homeowners choose a kitchen refurbishment Mill Hill to update doors, worktops, and lighting without moving plumbing. This option often means less disruption and a shorter project.
If you are unsure which route to take, ask your installer to explain both. A good professional gives honest advice and shows you what each option involves.
Stage 7: Fitting Appliances, Sinks, and Taps
Now the kitchen starts to work again. Your team fits the sink, taps, hob, oven, extractor, and dishwasher. They connect each appliance to water, gas, or electric supplies and test everything carefully.
They also check for leaks, listen for unusual noises, and make sure every appliance runs safely. This testing stage protects you from problems later, so please do not rush it.
Stage 8: Second Fix and Finishing Touches
The second fix covers the final details. Electricians add socket covers and light fittings. Decorators touch up paint. The team adjusts doors and drawers so they close smoothly.
Finally, your installer cleans the room and removes any leftover materials. You then do a walk around together. Point out anything that looks wrong, from a chipped edge to a loose handle. A reliable team fixes small issues quickly and without fuss.
How Long Does Kitchen Installation Take?
Time depends on size, design, and the amount of preparation work. A simple replacement can take around one to two weeks. A full redesign with new plumbing, plastering, and flooring often takes longer. Delivery delays and hidden problems behind old walls can also add days.
Ask your installer for a clear programme at the start. A written timeline helps you plan your life around the build.
Living Without a Kitchen: Practical Tips
A few simple habits make the weeks easier.
- Set up a temporary kitchen in another room.
- Stock up on easy meals and disposable plates.
- Keep a clear path from the front door to the work area.
- Agree on working hours with your installer.
- Check in daily with your project lead to stay informed.
Thinking Bigger: Extensions and Wider Updates
Some homeowners want more space, not just new units. Popular requests include kitchen extensions Mill Hill families use to create open plan kitchen and dining areas. An extension brings extra planning, structural work, and building regulation checks, so start the conversation early with your contractor.
Local knowledge also helps. A team that works across NW7 and nearby areas understands the typical house styles, access issues, and planning rules. That experience matters whether you search for kitchens Mill Hill or a project in neighbouring Childs Hill.
Choosing the Right Installation Team
Look for a team with clear communication, tidy workmanship, and proper insurance. Ask to see past projects. Check that tradespeople hold the right certificates. You can also confirm electrical competence through the NICEIC directory.
A good contractor listens first. They explain the plan, answer your questions, and treat your home with respect.
Final Thoughts
A kitchen installation follows a clear path: survey, strip out, first fix, preparation, units, worktops, appliances, and finishing. When you know each step, you stay calm and in control. Good planning, honest communication, and skilled tradespeople make the biggest difference.
If you are also thinking about updating other rooms, you may want a wider plan. TC Construction offers home renovations and house refurbishments that can sit alongside your kitchen project, so your whole home feels consistent and well finished.
Frequently Asked Questions
1. What happens first in a kitchen installation?
The first step is a full survey. Your installer measures the room, checks your services, and confirms the design. After that, the team removes the old kitchen. If you are planning a kitchen refurb Mill Hill, the survey also decides which parts of your existing kitchen can stay.
2. How long will I be without a kitchen?
Most projects take between one and three weeks, depending on size and complexity. Larger redesigns take longer. Your installer should give you a written timeline so you know what to expect each week.
3. Do I need building regulation approval?
Some work needs approval, especially gas, electrical, and structural changes. Your contractor can explain which rules apply. If you are considering kitchen extensions Mill Hill homeowners often choose, expect extra checks and sign off stages.
4. Can I stay at home during the installation?
Yes, most people do. You will face dust, noise, and no cooking facilities for a while, so set up a temporary kitchen elsewhere. A planned kitchen renovation Mill Hill with a clear schedule helps you manage daily life more easily. You can learn more about the full service on the TC Construction kitchen installation page.
5. How do I choose the right installer for kitchens in Mill Hill?
Look for local experience, clear communication, and proof of past work. Ask about insurance and certifications. A team that regularly handles kitchens Mill Hill projects will know local property types and common challenges.